1. Click on the
"Insert/Edit Table" icon (this text will appear once you hold your mouse over the icon).
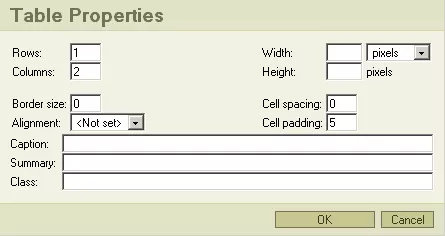
2. Create the table using the following table properties:
Rows: 1, Columns: 2, Border size: 0, Cell spacing: 0, Cell padding: 5
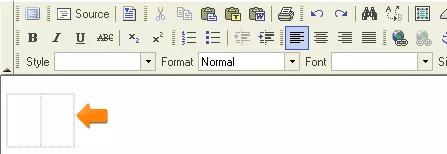
The resulting table should look something like this:
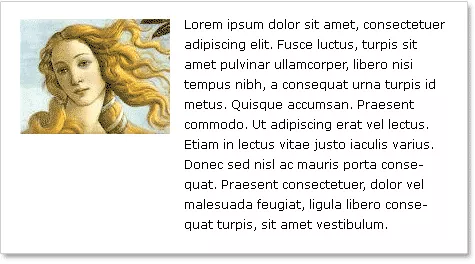
3. Insert your desired text into the right cell of the table. You can select the text you wish to place inside of the table and copy/paste it into the cell or you can simply select the text and then drag and drop it into the cell.
4. Place your cursor in the left cell and
insert the picture by clicking on the "Insert/Edit Image" icon.
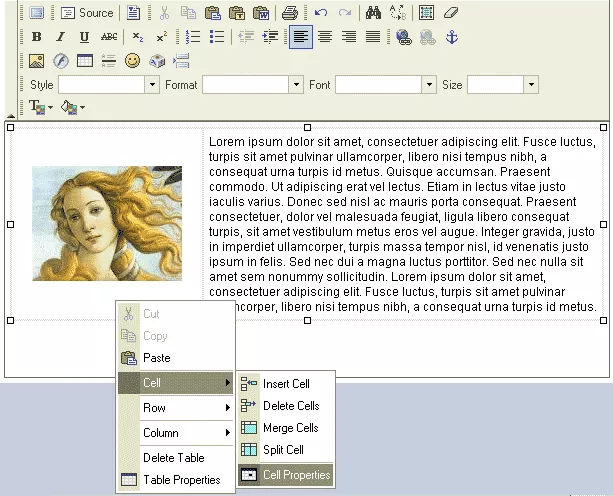
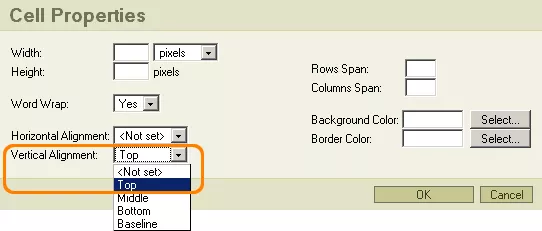
5. In order to change the settings for the objects inside of the table cells, right click on the cell in which you would like to have your changes made, and, from the resultant menu, select "Cell Properties." Within the "Cell Properties" page (as shown below), set the Vertical Alignment of the left cell to "Top," in order to keep the image positioned at the top of the cell.