Call 1-888-670-1652
Spire CoreDB Connect Error (2002) Connection timed out
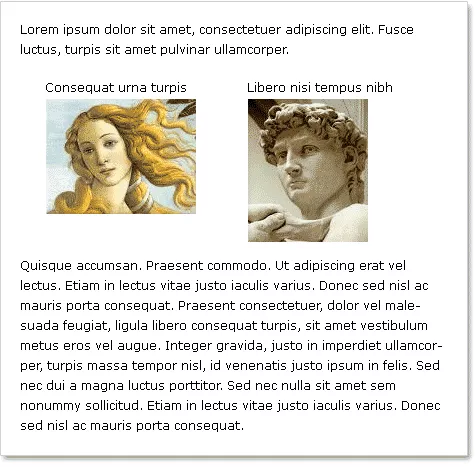
Center Captioned Placement1. Select the place on the page where you would like to situate your pictures.
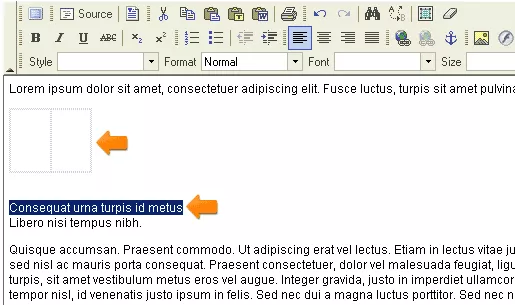
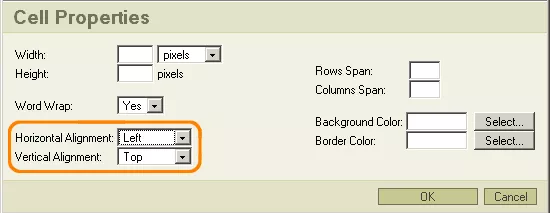
The resulting table should look something like this: 3. Insert your text (the headers for the pictures) into the cells of the table. You can either select the text you wish to place inside of the table and copy/paste it, or you can simply select the text and then drag and drop it into the cell. Be sure to press "Enter" after inserting the text in order to place the image below the text.
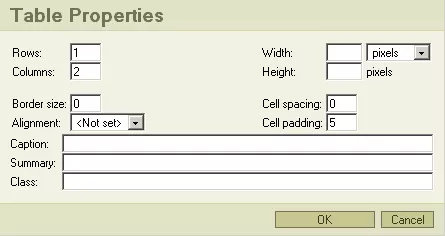
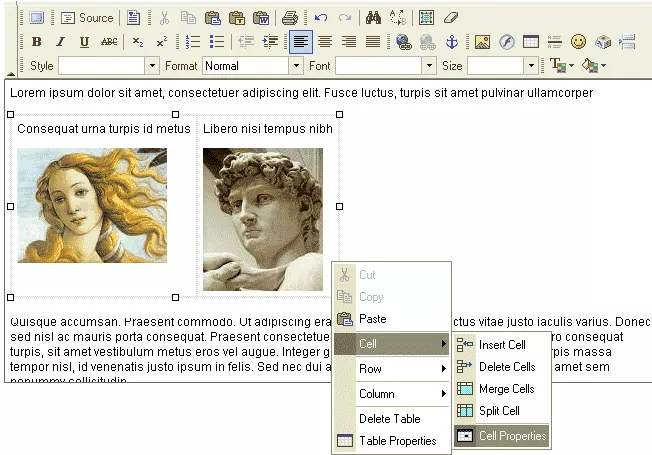
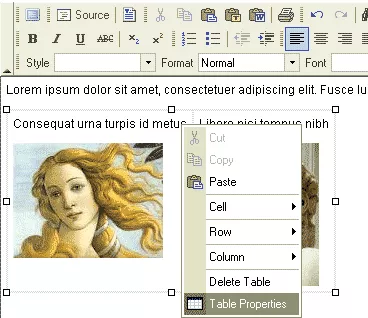
6. In order to change the overall table settings, simply right click on the table and, from the resultant menu, select "Table Properties."
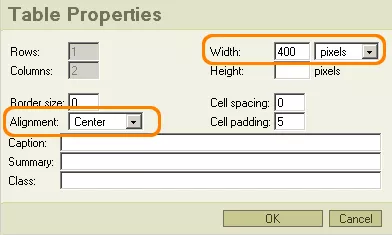
Set the Table Properties in accordance with your particular requirements. As an alternative to using the "Table Properties" window though, you can also alter the height and width by simply clicking on and dragging parts of the table.
|
Aspiresoft 2017 © All Rights Reserved. Privacy Policy
