1. Select the place on the page where you would like to situate your picture.
2. Click on the
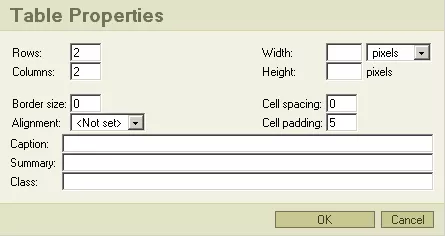
"Insert/Edit Table" icon and create a table with the following properties:
Rows: 1, Columns: 2, Border size: 0, Cell spacing: 0, Cell padding: 5

The resulting table should look something like this:
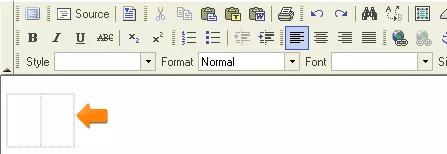
3. Place your cursor in the left-hand cell and
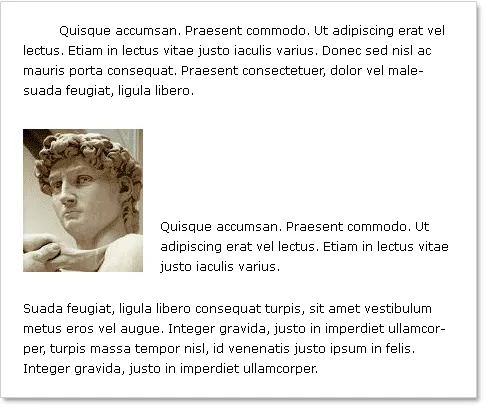
insert the picture by clicking on the "Insert/Edit Image" icon. Then, place your cursor in the right-hand cell and insert the text.
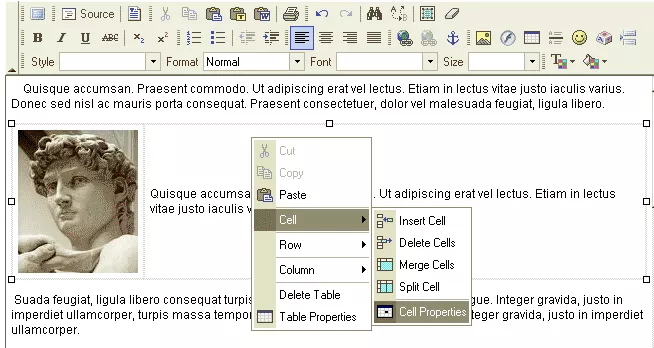
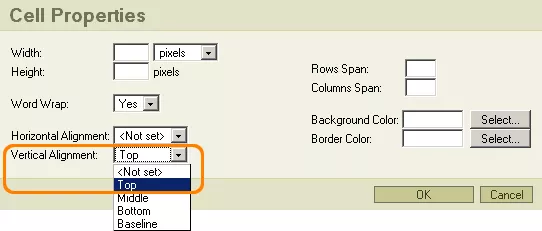
4. In order to change the settings for the objects inside of the table cells, right-click on the cell to which you would like to have your changes made, and, from the resultant menu, select "Cell Properties." Set the Vertical Alignment of the left-hand cell to "Top," in order to keep the image positioned at the top of the cell. Set the Vertical Alignment of the right-hand cell to "Bottom," in order to keep the text positioned at the bottom of the cell.
